
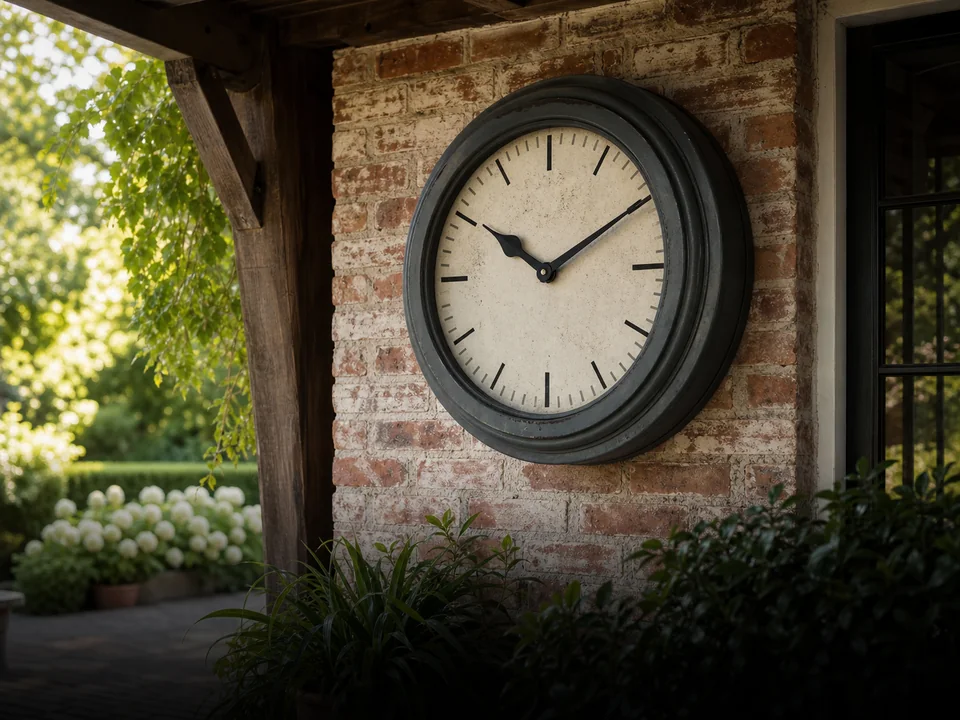
Outdoor Clock Troubleshooting: Match the Symptom to the Model
Start outdoor clock troubleshooting with the exact model, the symptom and the power supply for the affected function. A stopped clock, a wrong time setting and a failed light need different checks. Use the matching manual before resetting controls or replacing parts, and record damage without assuming what caused it.
Key takeaways
- Identify the model before using a reset sequence.
- Check timekeeping and lighting power separately.
- A one-hour error calls for time-zone and DST checks on a radio-controlled model.
- Visible moisture or a damaged dial is an observation, not a complete diagnosis.
- Confirm replacement-part compatibility with the model and existing hands.
Identify the Symptom and Exact Model
Write down what has changed before touching the controls. The model label and a clear symptom make the next check more specific.
Record the manufacturer, model code, any revision marking and the manual date. Note whether the hands or digits have stopped, the displayed time is wrong, the light has failed or the dial shows visible damage. Add the last battery change or reset if you know it; leave an unknown date unknown.
Identify the Symptom and Exact ModelShow details
| What you see | First check | Next step |
|---|---|---|
| Hands or display stopped | The specified timekeeping supply and its installation instructions | Follow the model's battery or power procedure, then its restart sequence. |
| Clock runs but shows the wrong time | Manual setting or radio synchronization | Check the relevant time-setting procedure. |
| Radio-controlled clock is one hour wrong | Time zone and daylight saving setting | Use the matching controls before starting a reception reset. |
| Light fails but timekeeping continues | Lighting supply and enabled mode | Use the delivered revision's lighting instructions. |
| Moisture, curled dial or other visible damage | Document the condition and the installation | Ask the manufacturer about inspection, service and placement before reuse. |
These branches cover checks an owner can match to a manual. A hardwired display, a public clock installation or work inside a powered enclosure needs its own service instructions.
Check Clock and Lighting Power Separately
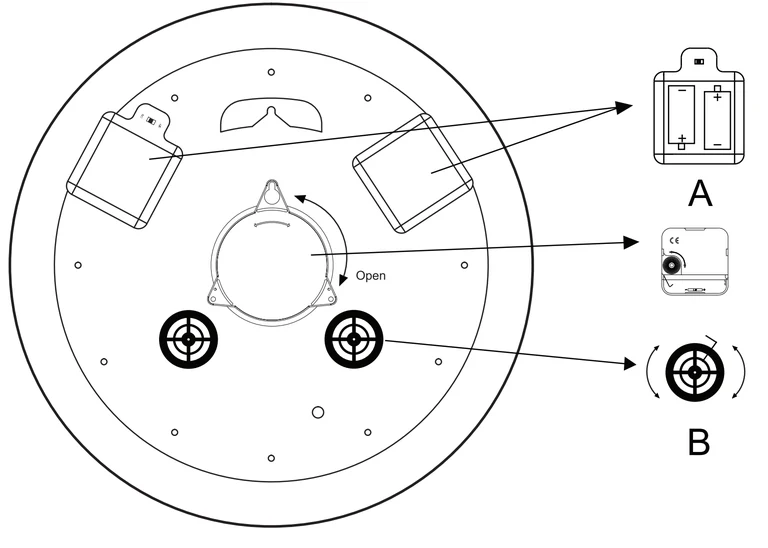
Use the battery type, quantity and procedure specified for the affected function. A working light does not prove that the clock movement has power.
uses one AA battery for time and four D batteries for its LEDs. If only one function fails, start with that function's instructions. The linked calls for replacing the four lighting batteries together.
The specifies an AA alkaline battery and a manual time-setting wheel. A radio-reception reset copied from another La Crosse model is not its time-setting procedure.
The WT-3181PL-Q controls review separates the time-setting wheel from the thermometer and humidity adjustments.
- Match the manual to the model and the controls you can see.
- Use the specified cells and the polarity markings in the correct compartment.
- Follow the model's restart or setting procedure after replacement.
- Record whether the original symptom remains.
If there is leakage, corrosion, visible enclosure damage or uncertainty about a cover, use the manufacturer's service instructions before further work. This material does not specify a battery chemistry substitution, external power conversion or method for resealing an enclosure.
Check Time Setting, Time Zone and Synchronization
First establish whether the clock is manually set or receives a time signal. The same wrong-time symptom can require a different check on each design.
For a manually set quartz clock, use the setting control in its guide and observe whether it continues to lose time afterward. Note the amount of error and when you observed it rather than treating every error as the same fault.
For a WWVB clock, check the selected time zone and daylight saving behavior as well as reception. explains that reception conditions and local interference can affect synchronization. A single failed attempt does not establish that reception is impossible at an entire location.
Use the outdoor atomic clock setup guide for the documented La Crosse 404-80017 sequence, including its initial wait, zone controls and manual-setting limitations. Those steps do not apply to WT-3181PL-Q.
If the radio-controlled model later corrects a manual setting, check what its guide says about the next successful signal. Repeating a manual setting alone may not change the zone or DST configuration.
Match Lighting Controls to the Delivered Revision
Verify the actual switch and mode before deciding that an unlit dial is broken. Lighting specifications may differ between a current product page and an older supplied unit.
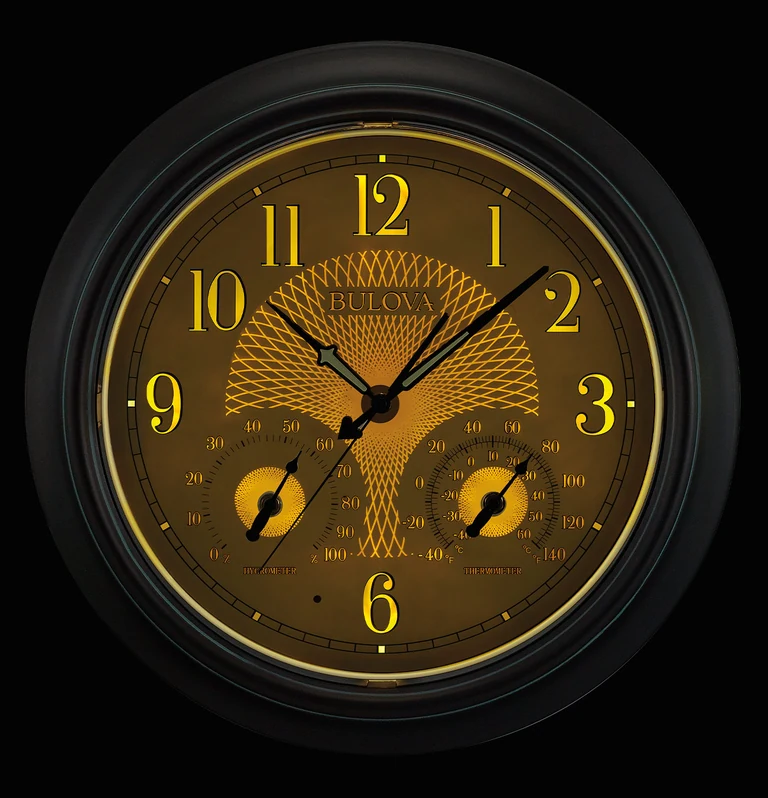
For C4813, Bulova advertises a five-hour lighting timer, but reviewed manuals 66C/3/R01 and 66C/3/R03 explain ON/OFF lighting without a timer-selection procedure. The manuals also contain conflicting cover-opening directions across languages. Match the actual controls and cover markings to confirmed instructions; do not assume a timer sequence or force an unclear cover.
Use the C4813 manual comparison and arrival checklist to prepare the unit details and questions for Bulova support.
Record whether the light never comes on, turns off earlier than expected or behaves differently after a battery change. Send that observation with the model and photographs of the controls when asking Bulova which instructions apply.
Record Damage and Recheck the Mounting Point
Photograph the condition and compare the location with the permitted exposure. Visible damage alone does not establish the failed component or a single cause.
Record rain reaching the mounting point, direct sunlight, nearby spray and the condition of the cover and dial. Describe what you saw and when. Avoid assigning a cause such as moisture, heat or a defective movement unless the inspection supports it.
WT-3181PL-Q requires a shaded position beneath a protective overhang. If the actual location differs, address that mismatch before reinstalling or replacing it with the same model. Use the outdoor placement checks or the pool clock guide to review the intended location.
Do not treat an informal sealant repair or a successful dry-weather restart as a new weather rating. Ask the manufacturer whether service or replacement affects the original installation conditions.

Find a Matching Manual or Service Route
Use the model record to ask a specific support question or confirm a compatible part. Brand name and clock diameter alone do not establish that a replacement movement will fit.
Before ordering parts, confirm the required movement and its compatibility with the existing hands, mounting arrangement and enclosure. If the manufacturer does not identify a supported replacement, retain that uncertainty rather than selecting a movement by appearance.
Send support the exact model, revision if shown, manual version, symptom, photographs and the checks already completed. Include the mounting conditions when they could affect the decision. Ask for the matching instructions, a service route or written clarification of a disputed feature.
Record the Outcome
Keep a short before-and-after record so you can tell whether the original symptom changed. A restart under recorded conditions does not establish future service life.
- Model and manual version.
- Original symptom and observation date.
- Battery or setting change performed from the matching instructions.
- Result, remaining error and date of the follow-up observation.
- Support reference and any change to the installation.
Frequently Asked Questions
Match the symptom to the model before choosing a reset or replacement. The questions below distinguish power, time settings and support decisions.
Why can the light work while the clock has stopped?
Some models use separate power for the light and the clock movement. Bulova C4813 lists four D batteries for its LEDs and one AA for timekeeping. Check the timekeeping supply and matching restart instructions even if the light still works.
Why is a radio-controlled outdoor clock one hour wrong?
Check the selected time zone and daylight saving setting first. The correct controls depend on the model, and reception alone does not choose every local setting for you. Use the matching guide before resetting the receiver.
Does moisture explain every outdoor clock failure?
No. Moisture, a stopped movement and visible dial damage are observations that need context. Record the condition and placement, then use manufacturer guidance to decide the next inspection or service step.
Will any replacement movement fit the existing hands?
Do not assume that it will. Confirm the movement, hand compatibility, mounting and enclosure requirements for the exact clock before ordering a part. If compatibility is not documented, ask the manufacturer or service provider.
Should I use an atomic-clock reset on WT-3181PL-Q?
No. WT-3181PL-Q is manually set using its matching setup guide. Radio-controlled procedures for models such as 404-80017 are different and should not be transferred to it.
When should I contact the manufacturer?
Contact the manufacturer when the manual does not match the controls, damage is visible, a prescribed check does not resolve the symptom or a replacement part is not confirmed. Supply the exact model, photographs, installation conditions and the steps already completed. That gives support a specific question to resolve.
Sources and Limits
The linked manuals support the model-specific checks. A symptom record helps manufacturer support assess a problem; it does not establish a repair diagnosis or expected service life.
Documentation checked: .
How TOPCLOCKS labels documentation and hands-on evidence. Send a correction with the model and supporting source.
Bulova R01, R03 and the official manual directory were checked on October 11, 2026.